
Google doesn’t just care about loading speed anymore, it judges your site by how quickly users see content (LCP), how responsive it feels (INP), and whether buttons stay put when someone tries to click them (CLS). Fail these, and your rankings and visitors slip away.
The good thing is you don’t need a developer to fix it. This guide breaks down exactly how to optimize Core Web Vitals for WordPress with tools you already have. Let’s turn those frustrating delays and layout jumps into a seamless experience that keeps Google (and your visitors) happy.
Ready to stop guessing and start improving? Let’s dive in.
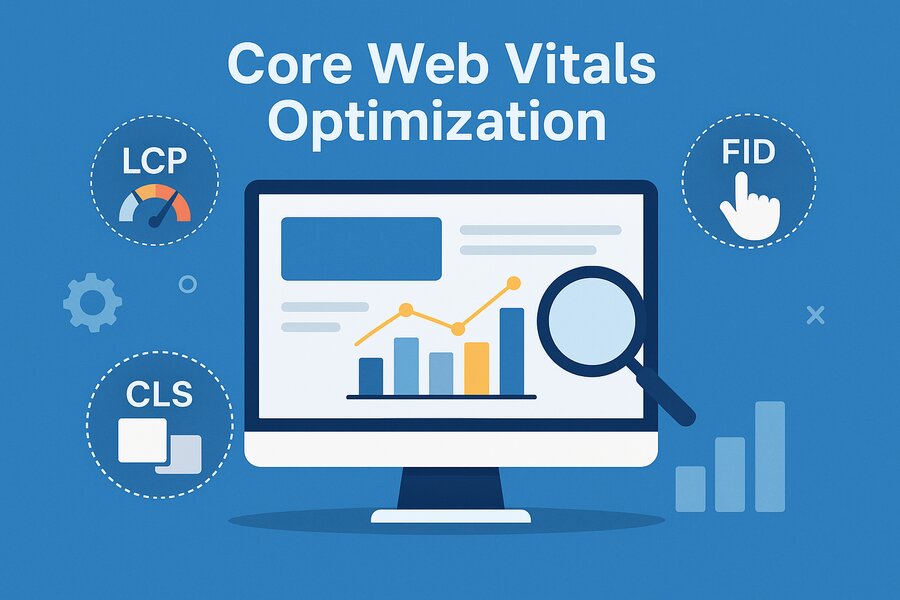
What are Core Web Vitals (CWV)?
Core Web Vitals (CWV) are a set of key metrics Google uses to measure your website’s user experience. They focus on loading speed, interactivity, and visual stability. If your site scores well, it ranks higher and keeps visitors happy. Ignore them, and you risk losing traffic and conversions.
- Largest Contentful Paint (LCP)
LCP measures how fast the main content of your page loads (like a hero image or headline). A good LCP score is under 2.5 seconds. Slow hosting, large images, or unoptimized code often cause delays. Fixing LCP keeps users from bouncing.
- Interaction to Next Paint (INP)
INP tracks how quickly your site responds to clicks or taps (like buttons or menus). A score under 200 milliseconds is ideal. Too much JavaScript or heavy themes can make your site feel sluggish. Optimizing INP ensures smooth interactions.
- Cumulative Layout Shift (CLS)
CLS checks if your page elements shift unexpectedly while loading (annoying, right?). Aim for a CLS score below 0.1. Unstyled images, ads, or dynamic content often cause this. Proper sizing and preloading prevent layout jumps.
LCP, INP, and CLS are the pillars of a fast, frustration-free website. Test your site with tools like PageSpeed Insights, then tackle the weakest metric first. Small tweaks can improve WordPress SEO and user satisfaction.
Why Core Web Vitals Matter for Your WordPress Site?
If your WordPress site feels slow or looks jumpy, visitors will leave—fast. Google knows this, so they made Core Web Vitals (CWV) a key ranking factor. Ignoring them means losing traffic, sales, and credibility. Let’s break down why they’re non-negotiable.
- Improves User Experience
People expect websites to work fast and smoothly. If your WordPress site lags or jumps around, they’ll leave. Core Web Vitals help you spot and fix those issues before visitors bounce.
- Boosts SEO Rankings
Google uses Core Web Vitals as a ranking factor. A slow or unstable WordPress site can drop in search results. Better scores give you a real shot at showing up higher on Google.
- Increases Conversions
Faster, smoother websites keep visitors engaged longer. That means more clicks, sign-ups, or sales. If you run a business or blog, this directly affects your results.
- Reduces Bounce Rate
Ever clicked a site and left right away because it felt broken or slow? Yeah, me too. Optimizing Core Web Vitals helps keep people on your site and reduces those quick exits.
- Builds Trust with Visitors
When your WordPress site feels polished and fast, it gives a professional vibe. It shows visitors you care about their experience. That trust matters, especially for new users.
Core Web Vitals aren’t just for developers or SEO pros — they matter for every WordPress site owner. Improving them helps your site load faster, feel smoother, and perform better across the board. It’s a small effort with big rewards.
Ongoing Optimization with a WordPress Maintenance Contract
Improving Core Web Vitals isn’t a one-time fix—it’s an ongoing process. That’s where a WordPress maintenance contract becomes valuable. These contracts ensure your website is regularly monitored, updated, and optimized for speed, security, and performance. Instead of scrambling to fix issues after users complain, a maintenance plan helps you stay ahead of the game, especially when Google updates its ranking signals.
How to Measure Core Web Vitals in WordPress Using PageSpeed Insights?
Before fixing anything, you need to know what’s actually going on. Measuring Core Web Vitals gives you a clear picture of how your WordPress site performs in the real world. One of the easiest tools to use is Google PageSpeed Insights. It’s free, and it tells you exactly what needs work.
Steps to Measure Core Web Vitals Using PageSpeed Insights
- Go to PageSpeed Insights
- Enter your WordPress site’s URL and hit “Analyze”
- Wait a few seconds — it’ll scan your site and give you results
- Scroll down to the “Core Web Vitals Assessment” section
- You’ll see your LCP, INP, and CLS scores, along with suggestions
- Use the “Opportunities” and “Diagnostics” areas to find what to fix
The tool also shows how your site performs on both mobile and desktop, which is helpful since scores can differ.
PageSpeed Insights is super handy if you’re not too technical. It tells you what’s wrong and even how to fix it. Whether you’re managing your own site or running a client’s, this tool gives you a clear starting point to improve your Core Web Vitals fast.
How to Measure Core Web Vitals in WordPress Using Lighthouse?
Sometimes you just want to see how your site behaves right in your browser — no extra tools or websites. That’s where Lighthouse comes in. It’s built right into Chrome DevTools, and it gives you an instant performance report, including Core Web Vitals.
Steps to Measure Core Web Vitals Using Lighthouse
- Open your WordPress site in Google Chrome
- Right-click anywhere on the page and select Inspect
- In the top menu, click over to the Lighthouse tab
- Choose whether you want to test on mobile or desktop
- Click Analyze page load and wait a few seconds
- Once it runs, scroll through the report to find Core Web Vitals like LCP, INP, and CLS
You’ll also get tips on what’s slowing down your site and what you can fix to improve scores.
Lighthouse is perfect when you want a quick, browser-based way to check performance. It’s straightforward and gives real insight into how your WordPress site behaves. Super useful for spot-checking pages before or after making changes.
How to Optimize Largest Contentful Paint (LCP) in WordPress?
When someone visits your site, the biggest thing they see first — like a large banner or heading — needs to load fast. That’s what LCP measures. A slow LCP can make your site feel sluggish, even if everything else is working fine. Let’s look at a few ways to speed it up in WordPress.
Steps to Optimize Largest Contentful Paint (LCP) in WordPress
- Optimize images (especially the hero image)
Use compressed image formats like WebP. You can also resize large images before uploading. Plugins like ShortPixel or Smush can help automate this.
- Use a fast and lightweight theme
Some themes are bloated with scripts and styles you don’t need. Switching to a cleaner theme — like Astra or GeneratePress — can make a big difference.
- Set up lazy loading properly
Lazy loading delays images from loading until the user scrolls to them. But your main image (the LCP element) shouldn’t be lazy-loaded. Make sure it’s excluded.
- Implement server-side caching
Use plugins like WP Rocket, LiteSpeed Cache, or W3 Total Cache to store and serve static versions of your pages. This cuts load time big time.
- Consider a CDN
A Content Delivery Network (like Cloudflare or BunnyCDN) helps load your content from servers closer to your visitor. That speeds up delivery and improves LCP.
- Minify and combine CSS and JS files
Too many style and script files slow things down. Most caching plugins can handle this for you with just a few clicks.
Improving LCP comes down to smart theme choices, faster image handling, and good caching. You don’t need to be a developer — just use the right plugins and settings. Tweak one thing at a time and monitor the impact. You’ll get there.
How to Improve Interaction to Next Paint (INP) in WordPress?
INP is all about how fast your site responds when someone clicks, taps, or types. If there’s a delay, it can feel frustrating. Think of INP as your site’s reaction time — and yes, it matters a lot for user experience. Here’s how to make sure your WordPress site feels snappy and responsive.
Steps to Improve Interaction to Next Paint (INP) in WordPress
- Reduce JavaScript bloat
Too much JavaScript slows things down. Use a plugin like Asset CleanUp or Perfmatters to disable scripts that aren’t needed on every page.
- Defer or delay JavaScript loading
Instead of loading all scripts right away, you can tell WordPress to wait until after the page is visible. WP Rocket and Flying Scripts make this super easy.
- Use a lightweight theme and fewer plugins
The more plugins you run, the more your site has to process. Stick to high-quality, well-coded plugins and avoid ones that load lots of extra scripts.
- Optimize third-party scripts
Chat widgets, analytics, or social sharing tools can hurt your INP score. Load them only when needed, or use lightweight alternatives.
- Enable server-level caching and use a CDN
Quick server response is key. A fast host, caching plugin, and CDN combo can make sure your site reacts instantly to user input.
- Avoid long tasks in the main thread
If your site runs big chunks of code all at once, it can pause the UI. You can catch and fix these using tools like Chrome DevTools or PageSpeed Insights.
Improving INP is mostly about trimming the fat — less JavaScript, smarter loading, and fewer heavy elements. Focus on what matters most to your users and streamline the rest. A faster interaction makes your site feel polished and professional.
How to Fix Cumulative Layout Shift (CLS) Issues in WordPress?
You’ve probably visited a site where stuff suddenly jumps around as the page loads. That’s CLS in action — and it’s annoying. It happens when things like fonts, ads, or images load late and push the content. A low CLS score makes your site feel stable, polished, and easier to use.
Steps to Fix Cumulative Layout Shift (CLS) Issues in WordPress
- Always set image and video dimensions
If you don’t define width and height for images or videos, the browser won’t know how much space to reserve. WordPress does this for most images by default, but double-check your custom or older content.
- Avoid dynamically injected content above the fold
Popups, ads, or banners that load late can cause layout shifts. Make sure they either load in reserved space or appear below the main content.
- Preload important fonts
Web fonts can cause layout jumps when they load. Use a plugin like “Swap Google Fonts Display” or preload them using your theme’s functions file to reduce this flash of unstyled text.
- Use font-display: swap in your CSS
This CSS rule tells the browser to use a fallback font until your custom one loads. It helps avoid sudden text shifts.
- Optimize your header and navigation layout
If your header resizes or elements move while loading, it can affect CLS. Keep header sizes consistent and don’t load extra elements late.
- Monitor with PageSpeed Insights or Lighthouse
These tools highlight layout shifts and even show you which elements caused them. It’s an easy way to spot and fix issues fast.
Fixing CLS is mostly about keeping things steady — reserving space for everything and not surprising your users. When your layout feels predictable, your site feels more professional and trustworthy. Small fixes here can make a big impact.
Wrapping Up
Think of Core Web Vitals like a health checkup for your WordPress site ignore them, and small issues turn into bigger problems over time. But the fixes? They’re often simpler than you’d expect. A faster server here, optimized images there, and suddenly your site feels snappier, looks more stable, and keeps visitors around longer.
You don’t need to tackle everything at once. Start with the biggest pain point (slow loading? jumpy layouts?), test your changes, and move to the next. Google rewards progress, not perfection.
So take it step by step. Your site and your visitors will thank you for it. Now go see how much smoother your site can really run.