

Are you having trouble recording your computer screen? Do you want to know how to record the screen on your Windows or Mac? Are you wondering how to record zoom meeting without permission? Then you’re at the right place! There could be any reason for which you need to record your screen.
If you want to capture your screen for a work presentation, for your product guides, or for showing something to your friends. You can record your entire screen, select screen, or a Window whether you have a Windows computer or a Mac.
Windows and Mac have many built-in tools that help you to capture your entire screen. However, the built-in tools might lack some features you need, such as recording video with system sound, game recording and others. Thus, you can count on a reliable screen recording software.
Record your Screen on Windows and Mac with Built-in Tools
A screen recorder can help you record how-to videos, tutorials, online courses, etc. Let’s first look at the steps to record your screen using your Windows and Mac built-in tools.

- Record Your Screen on a Mac with QuickTime
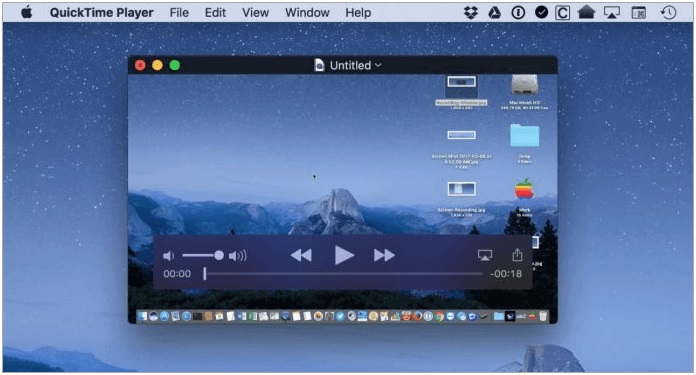
Apple offers a built-in app in the Mac that helps you record your screen. The app is the QuickTime player. It enables you to record, edit and play audio and video files onto every IOS computer.
You can use the QuickTime player app if your version of the macOS is older than Mojave. This app will help you with fast and easy recording as it’s one of the simplest apps. Below are the actions that you can follow for recording your screen on a Mac:
Step 1: Open the app of QuickTime player from the Launchpad. If you don’t find the app in Launchpad, try to check its “other” folder.
Step 2: After opening the app, click on the File located on the Menu Bar.
Step 3: From the dropped-down menu, click on the option saying New Screen Recording.
Step 4: After this, you may see a prompt asking for your permission to record your desired computer screen. Click the open system preference button and check the box next to QuickTime Player. You may need to restart the QuickTime Player; if not, you can skip stepping 6.
Step 5: When the app QuickTime restarts, click on the File followed by the New Screen Recording.
Step 6: There is a capture tool toolbar with two option buttons: Three on the left side to capture a screenshot and two in the middle for the screen recording. Use the options to add or remove mouse clicks. You can also employ the built-in microphone to choose the designation of the video.
Step 7: Click the Record Entire Screen followed by the Record button located on the right side.
Step 8: After the process is complete, navigate to the menu bar and click on the Stop Recording button. For saving your File, click File on the menu bar, followed by Save in the drop-down menu. Choose a suitable location and name your recording file, then click the save option.
- Record Your Screen on Windows with Xbox
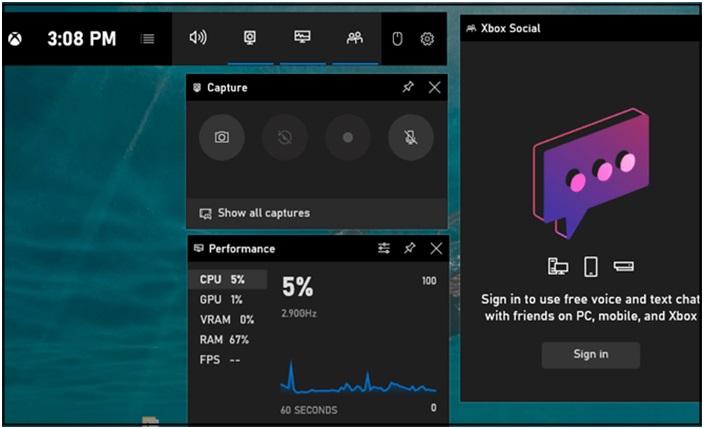
Windows 10 also has a built-in app by Microsoft called the Xbox App. The app is best for screen recording video games on your PC. But, the good thing about it that you can also use it to record other things.
Below are the actions that you can follow for recording your screen on Windows:
Step 1: First, type Xbox in the search box to open the app.
Step 2: To open the Game Bar to record the screen, you need to hold the Windows and G keys from the keyboard. After this, click on Yes; this is a Game option.
Step 3: For choosing the quality of your screen recording, decide whether you want to record the audio. Set the most significant clip length and open the “Game DVR” option in your Xbox app.
Step 4: For recording, click on the Record button. You can also hold the Windows, Alt, and R keys from your keyboard to start the screen recording.
Step 5: The ultimate step is to click on the Stop button after finishing the recording. You can find the recorded video in your PC’s Videos folder.
Best Screen Recording Software for Windows and Mac
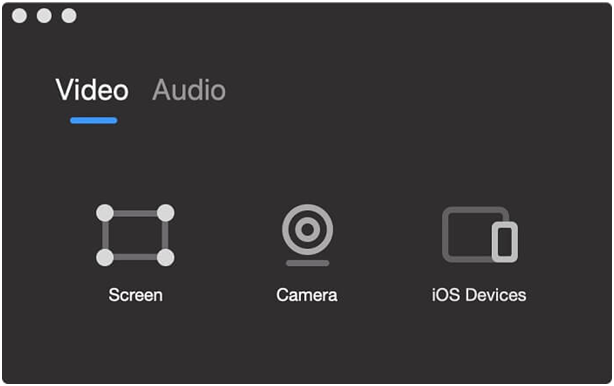
If you want to enjoy the fantastic features of a screen recording software, you can go for EaseUS RecExperts. The EaseUS RecExperts is a simple and intuitive window screen recorder. It helps in recording your entire screen and webcam for any purpose.
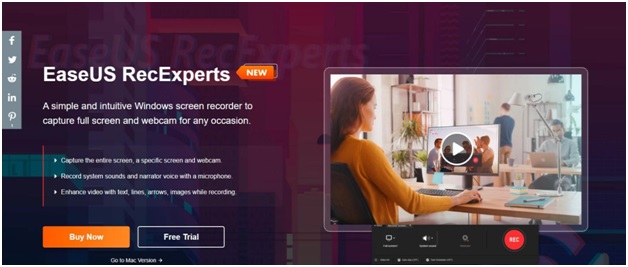
The EaseUS RecExperts also provides recording for your Mac. It can help you record anything on your Mac or iPad screen with ease.

Benefits of the EaseUS RecExperts Software
For Windows
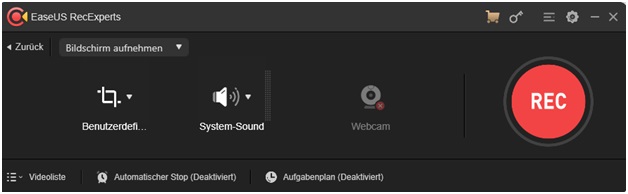
- With the fantastic software, you can capture your entire screen or even a webcam.
- You can enhance your videos with different lines, text, and images while recording.
- With the help of a microphone, you can record the system sounds and the voice of narrators.
- The software will capture your entire screen, a single window, or even a selected area of your screen.
- With the software, you can record your videos and audio.
For Mac
- You can capture the entire screen of your Mac with the audio.
- From zoom meeting to YouTube videos, you can record anything.
- You can record the screens of your iPhone and iPad without any wire.
You can discover many other products at EaseUS for an extraordinary digital life. The fully-featured software will help you record professional videos from your PC.
You can also schedule your recording tasks with the software. By scheduling your recording, you can start it at a specific time. Moreover, the software also allows you to schedule many tasks.
Conclusion
There is no doubt that you can always use the free built-in apps for recording on your Windows or Mac. But using this EaseUS software would provide you with the best experience.

If you want to enjoy the perks of different screen recording tools then EaseUS RecExperts screen recording software is the best.