

If you’re looking for ways to interact with employees, engage customers, stay in touch with students or offer a more personalized experience to your audience, have you considered hosting your own webinar?
Webinars provide a unique way to reach users, share your experience, and stay connected. Instead of merely offering a video lesson on a subject or a speech on a certain topic, you can offer an interactive experience to your audience. With webinars you can engage them more actively during the session through real-time chat and Q&As. Plus, people can join them from their computers, tablets, smartphones, or whatever device is most convenient for them.
If you’re one of the 43% of all websites in the world using WordPress as your content management system, keep reading. We’ll explain how to host a webinar on your WordPress site.
1. Choose Your Webinar Software
You have two options for your webinar software:
- Use a WordPress plugin + your own video hosted elsewhere
- Host the webinar through a webinar service like EasyWebinar or WebinarJam and then embed it on your WordPress site.

The plugin WebinarPress is free to use for live webinars, though if you want to do evergreen or automated webinars or have live chat, you’ll need to subscribe to the paid version. You can create all the emails that are sent out to attendees when they register and after they watch the webinar too. The plugin will keep track of attendee contact information and the questions asked during each webinar right inside WordPress, so you don’t have to log into another platform to find it.
You can link YouTube Live, Vimeo, RTMP streams, or iframes directly into the plugin, so the webinar is hosted live on your WordPress site. Pricing for the advanced features starts at $197/year for a single site or $497/year if you’re publishing on multiple sites.
Webinar-specific platforms offer more robust features for WordPress site owners. Many of them offer live hosting and chatting, Q&A features, evergreen or automated webinars, recording, replays, integrations with email marketing platforms, and the option to charge for attendance.
Here’s a quick list of pricing options for a few webinar platforms:
- WebinarIgnition: Hold live and automated webinars with this platform and integrate with a variety of email marketing providers. For one-time payments, you can install the software on one or multiple personal sites and host unlimited webinars for unlimited participants. The Basic plan ($97) is for one site, Pro ($197 for three sites), and Enterprise ($297) for unlimited personal sites.
- WebinarJam: This tool offers a lot of features for its annual prices. The Basic plan is $499/year for unlimited webinars up to 500 participants, and the Professional plan is $699/year for up to 2,000 participants. All options include live chat, automated recordings, a landing page builder, and email marketing integrations.
- GoToWebinar: Save 23% by paying annually on their plans. The Starter plan is $89/year for up to 100 participants and $199/year for up to 500 participants.
- StealthSeminar: Starts at $69.95/month for 150 participants and $220/month for up to 500 participants.
- EasyWebinar: Get three months free with annual billing, otherwise pay $78/mo for up to 100 live participants and integration with Facebook and YouTube Live platforms. The Pro plan costs $129/mo for up to 500 participants, both live or simultaneous for automated webinars.
You can also check out your email marketing platform as they may offer webinar functionality too. For example, GetResponse offers webinars in their Plus plan ($49/month for up to 100 participants), an excellent option if you have a big email list.

2. Set Up Your Webinar
Now it’s time to set up your webinar with everything people need to register and attend it. Each platform or service lets you set up the live session, set the URL, registration process, the recording and storage options, and all the participant emails they’ll need (e.g. the welcome email, the notification that the session is starting email, the thank you email, and more.) The exact instructions will depend on the platform or service you use.
Considerations for your webinar include:
- Whether it’s a one-off session or one you want to run regularly, which means you’ll need to record it.
- Whether you’ll charge for the session and how the platform integrates with a payment processor.
- The length of the webinar and how many participants you can have attend each session.
- Where registrations are recorded, such as inside WordPress if using WebinarPress, in the webinar platform, or if they’re sent directly to your email marketing platform.
- If you want to enable the live chat feature or Q&A option for classes and courses.
- How you’ll handle questions from participants and if they’re recorded in the session.
- If you’ll record the session and make it available for download by participants later.
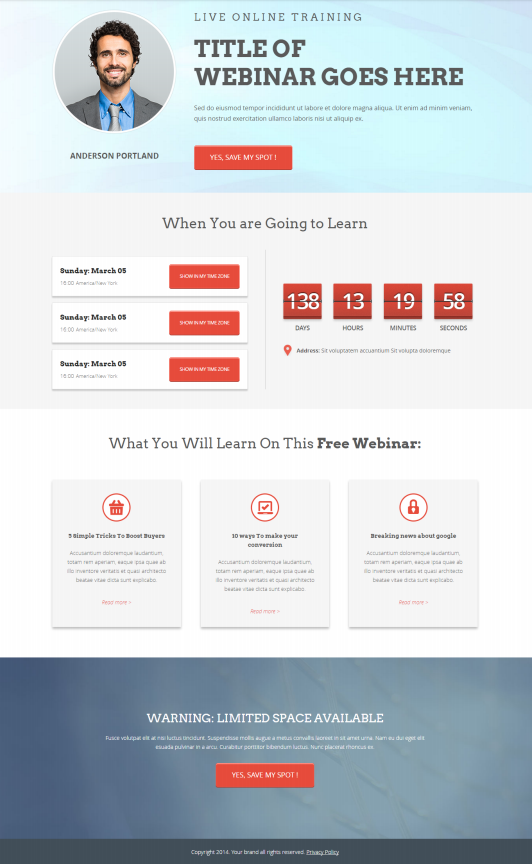
Here’s the webinar setup page for WebinarPress:

3. Embed the Webinar Signup Form
To encourage people to sign up for your webinar, you’ll need a form. Create a landing page for the webinar that explains the subject and gives a little teaser of what participants will learn if they register.
StealthSeminar has a variety of registration form templates you can choose from.
Most of the webinar platforms offer a form shortcode you can use to embed the form on a page of your WordPress site. Some also have a WordPress plugin that will help you embed the code or create a platform-specific widget on your site.
4. Integrate the Webinar With Your Email Marketing (Optional)
This step is only for those of you using webinars to grow a business or service since you’ll want to add participants to your email list for future marketing campaigns.
WebinarPress includes the integration option in their paid version, as do most of the other webinar platforms. Refer to each one for details on how to integrate your email marketing service to it.
Tips for a Great Webinar
Now that you know how to set up your webinar on your WordPress site, it’s time to look at some tips on how to hold a great webinar.
Tip #1: Pay Attention to Your Sound
It starts with a quiet location in which to record your webinar. Make sure there’s no background noise to interrupt you. Use an external microphone to help capture your voice more easily and professionally. The built-in microphones on your laptop or smartphone aren’t always the best for this, so you’ll need to get a separate one.
Some people doing voice overs for webinars have been known to record in a closet since the clothes in there absorb the extra sound. That’s a bit extreme and not useful if you need to be seen on the video, so choose wisely.
Tip #2: Watch Your Posture
What’s allowable during a video chat with friends and family certainly isn’t for an official webinar for your business or class session. While we’ll forgive the accidental intrusion of a pet or family member there, your webinars should be a little more professional. Especially if you’re recording them or offering them as part of a paid program.
Avoid placing your recording device too close or too far away from you. Make sure it’s at the appropriate height for your face and upper body, so you may need to place your camera or smartphone on a tripod or place your laptop on a bookshelf that’s the right height.
Tip #3: Watch Your Language
No matter if you’re recording the session to then play back to others or you’re a teacher looking to hold online lessons, watch your language. Speak naturally and try to reduce the uhms and aahs as you go. If you’re unsure what to say next, stay silent until you think of it. It sounds better on the other end and also gives people a chance to raise their hand to ask a question.
Tip #4: Address Your Audience
One way to engage your audience is to use the word “you” more often (“Today, you will learn…”). You can also turn the focus back on the audience by asking them directly something. (“Who wants to ask a question?”) Bringing your audience into the webinar helps keep them engaged with you and the subject you’re talking about.
Tip #5: Hold Your Audience’s Attention
This one’s easy if you’re teaching a class since you already know how to do that. But if you’re new to webinars and holding sessions like this, you’ll want to make sure you’ve captured your audience’s attention and kept it. Limit the text in any slides you’re showing and avoid overloading them with too many images, colors, or shapes. Instead, get your audience involved with a good mix of questions, mini challenges, compelling videos, and music.
Tip #6: Know Your Audience
This piece of advice is more for the business owners and marketers looking to grow their business with webinars but can apply to everyone. Before recording your webinar, you must know who will be attending, what challenges they’re facing, and what their goals are for attending. Will they want to learn a specific task or understand a particular concept? Or is it something else.
Make sure to fully understand who your audience is before you plan or record your session. Otherwise, you’ll end up with low registration numbers and bad participation during the session.
Tip #7: Remember Some Will Be on a Mobile Device
This is a vital tip right now as more people are attending video sessions right now. Many will be on their mobile devices, so make sure your webinar is easy to participate in on mobile, is responsive to the mobile devices, and displays comfortably.
Bonus tip: Include some quick instructions on how to navigate within the webinar on mobile devices if it’s not obvious.
Wrapping Up
Webinars are fantastic ways to interact with people, engage customers, and stay in touch with students or other members of your community. There are several ways to register, host, and use webinars on your WordPress site, whether you’re looking to do it all on your site or integrate it with a webinar platform. Whatever you choose, you’ll be all set to provide webinars to your site visitors.